Techniques for Texturing in Adobe Photoshop
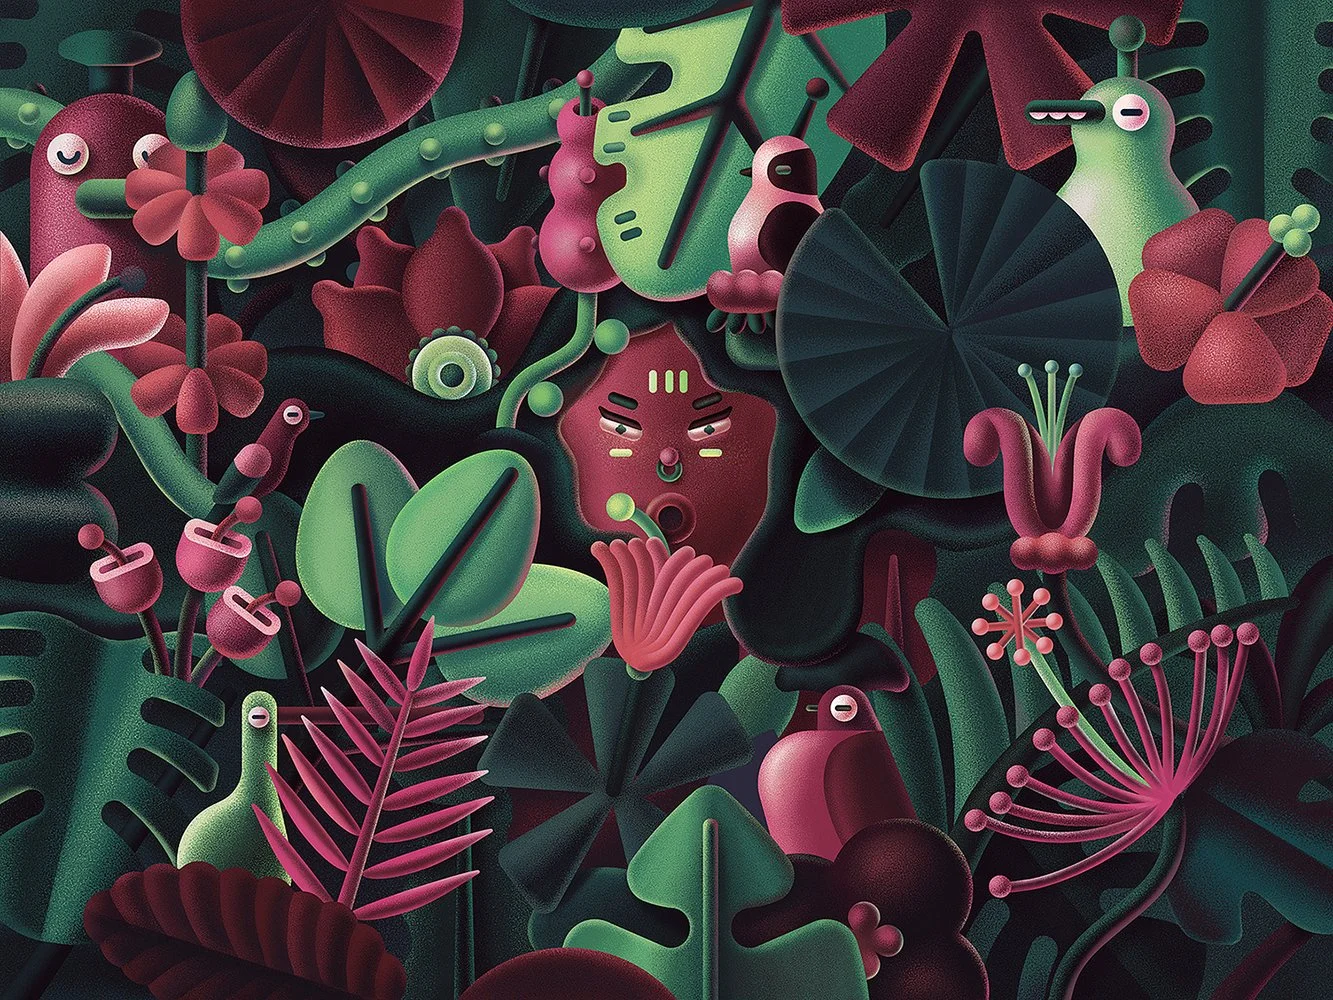
Irene by Mary Maka | Image Source: Dribbble/Mary Maka (26/07/24)
Creating unique textures in Photoshop can transform your digital artwork from flat and lifeless to rich and engaging. Whether you’re designing a rugged leather jacket, a glossy glass surface, or a gritty concrete wall, mastering the art of texture can elevate your work to new heights. Let’s dive into some advanced techniques for crafting unique textures in Photoshop that will make your creations pop.
Layer blending is one of the most powerful tools in Photoshop for creating realistic textures. By experimenting with different blend modes, you can achieve a wide range of effects. For instance, using the Overlay mode can add depth and contrast to your textures, while Soft Light can create a more subtle, nuanced look. To start, you can duplicate your base layer and set the duplicate to Overlay mode. Adjust the opacity to control the intensity of the effect. This technique is particularly useful for adding texture to skin, fabric, or other materials that benefit from a mix of light and shadow. On the other hand, using the Soft Light blend mode for a gentler effect is ideal for materials like paper or fabric where you want to enhance the texture without making it too harsh.
Photoshop’s custom brushes are another goldmine for creating realistic textures. You can either download brushes created by other artists or make your own. There are countless custom brushes available online for free or for purchase. Look for brushes that mimic real-world textures like hair, grass, or fabric.
To create a custom brush, start with a high-resolution image of the texture you want. Convert it to grayscale and then define it as a brush preset. This brush can now be used to paint textures directly onto your artwork. This method allows for a high degree of customization and can give your textures a unique, hand-crafted feel.
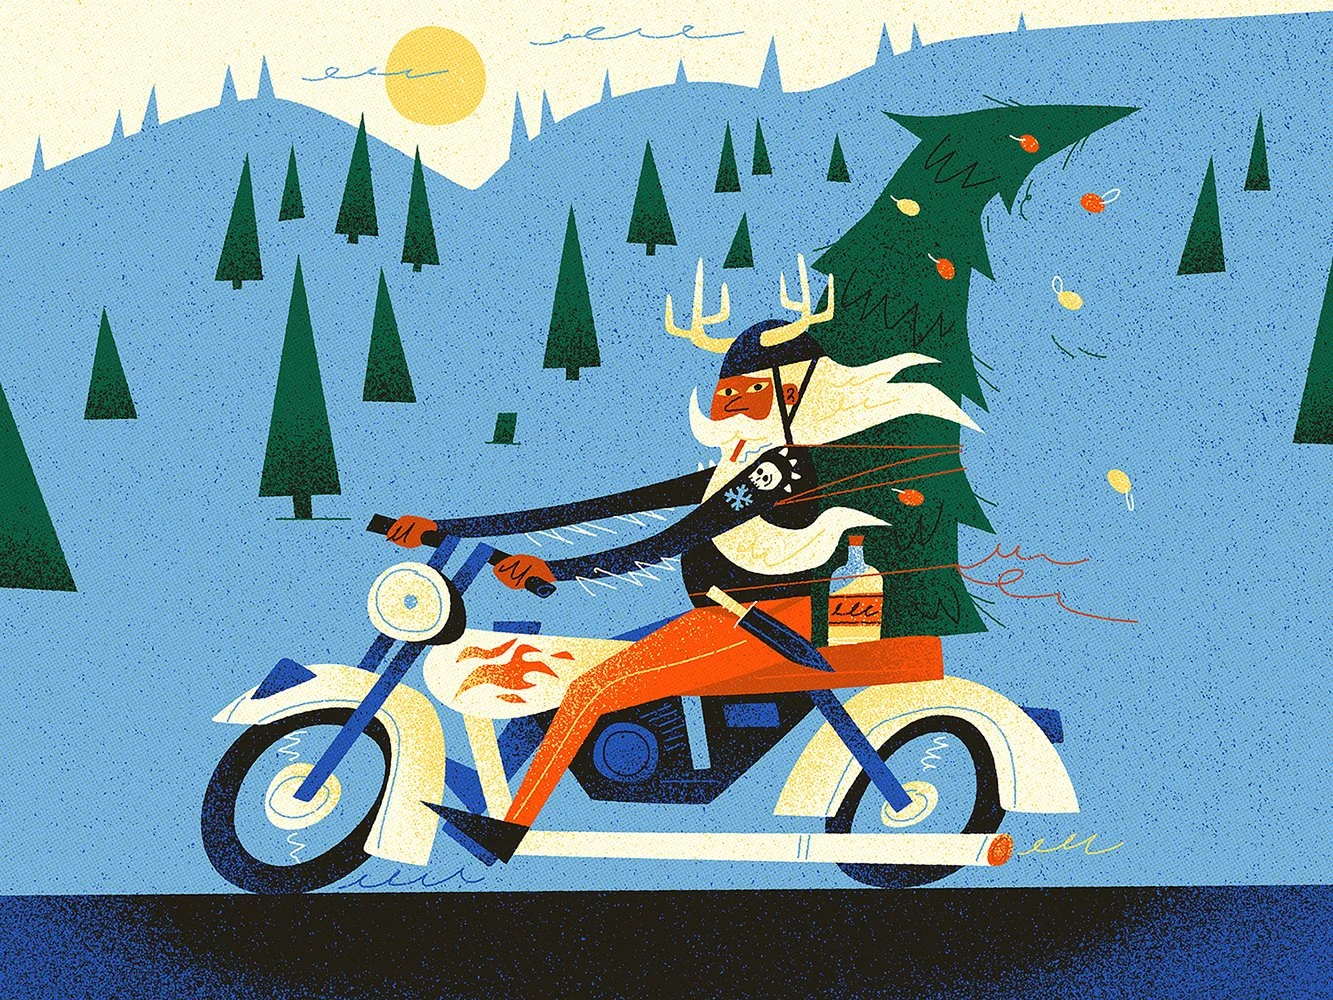
Badass Santa by MUTI | Image Source: Dribbble/MUTI (26/07/24)
Photoshop’s filters can also add a layer of realism to your textures. Filters like Noise, Grain, and Blur can create the imperfections that make textures look real. Applying a Noise filter introduces a bit of randomness, which can help break up the uniformity of digital textures. The Grain filter can add a gritty, organic feel to your textures. Adjust the intensity and contrast to match the material you’re simulating. Finally, use the Gaussian Blur filter to soften the edges and make your textures blend more naturally. This is particularly useful for textures like fur or fabric, where sharp edges can look unnatural.
Smart Objects are a non-destructive way to apply and edit textures in Photoshop. By converting your layers to Smart Objects, you can experiment with different textures without permanently altering your original artwork. Right-click on your layer and select “Convert to Smart Object.” Now, any filters or adjustments you apply will be non-destructive. You can apply filters like Noise or Grain to your Smart Object and adjust these filters at any time, making it easy to fine-tune your textures.
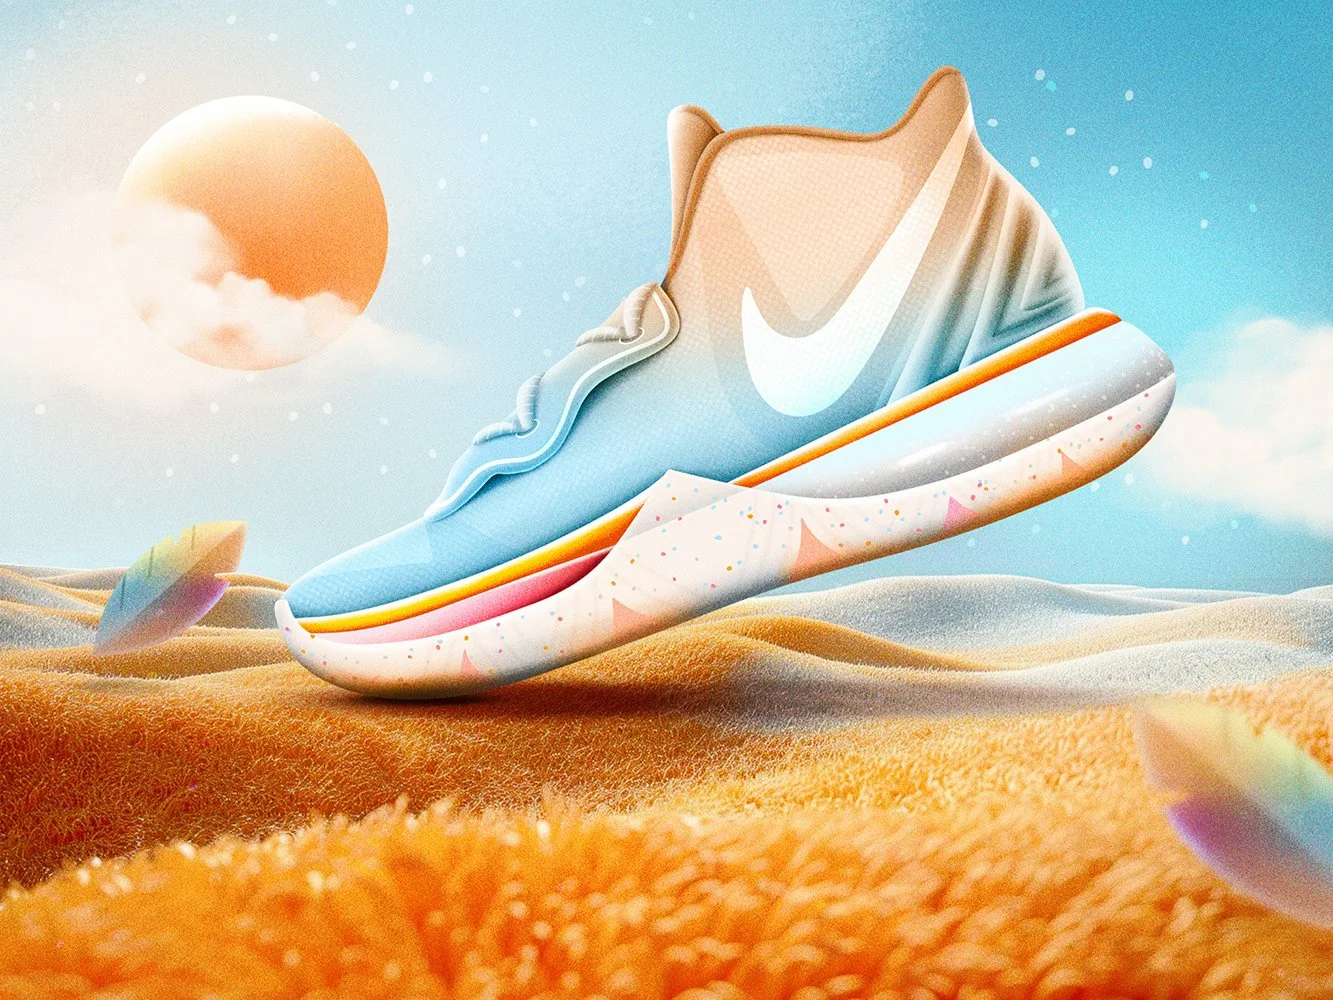
Summertime by Mako Zakaidze | Image Source: Dribbble/Mako Zakaidze (26/07/24)
To make your textures truly pop, pay attention to lighting and shading. Use Photoshop’s dodge and burn tools to add highlights and shadows, enhancing the 3D effect. This step can make the difference between a flat texture and one that looks like you could reach out and touch it.
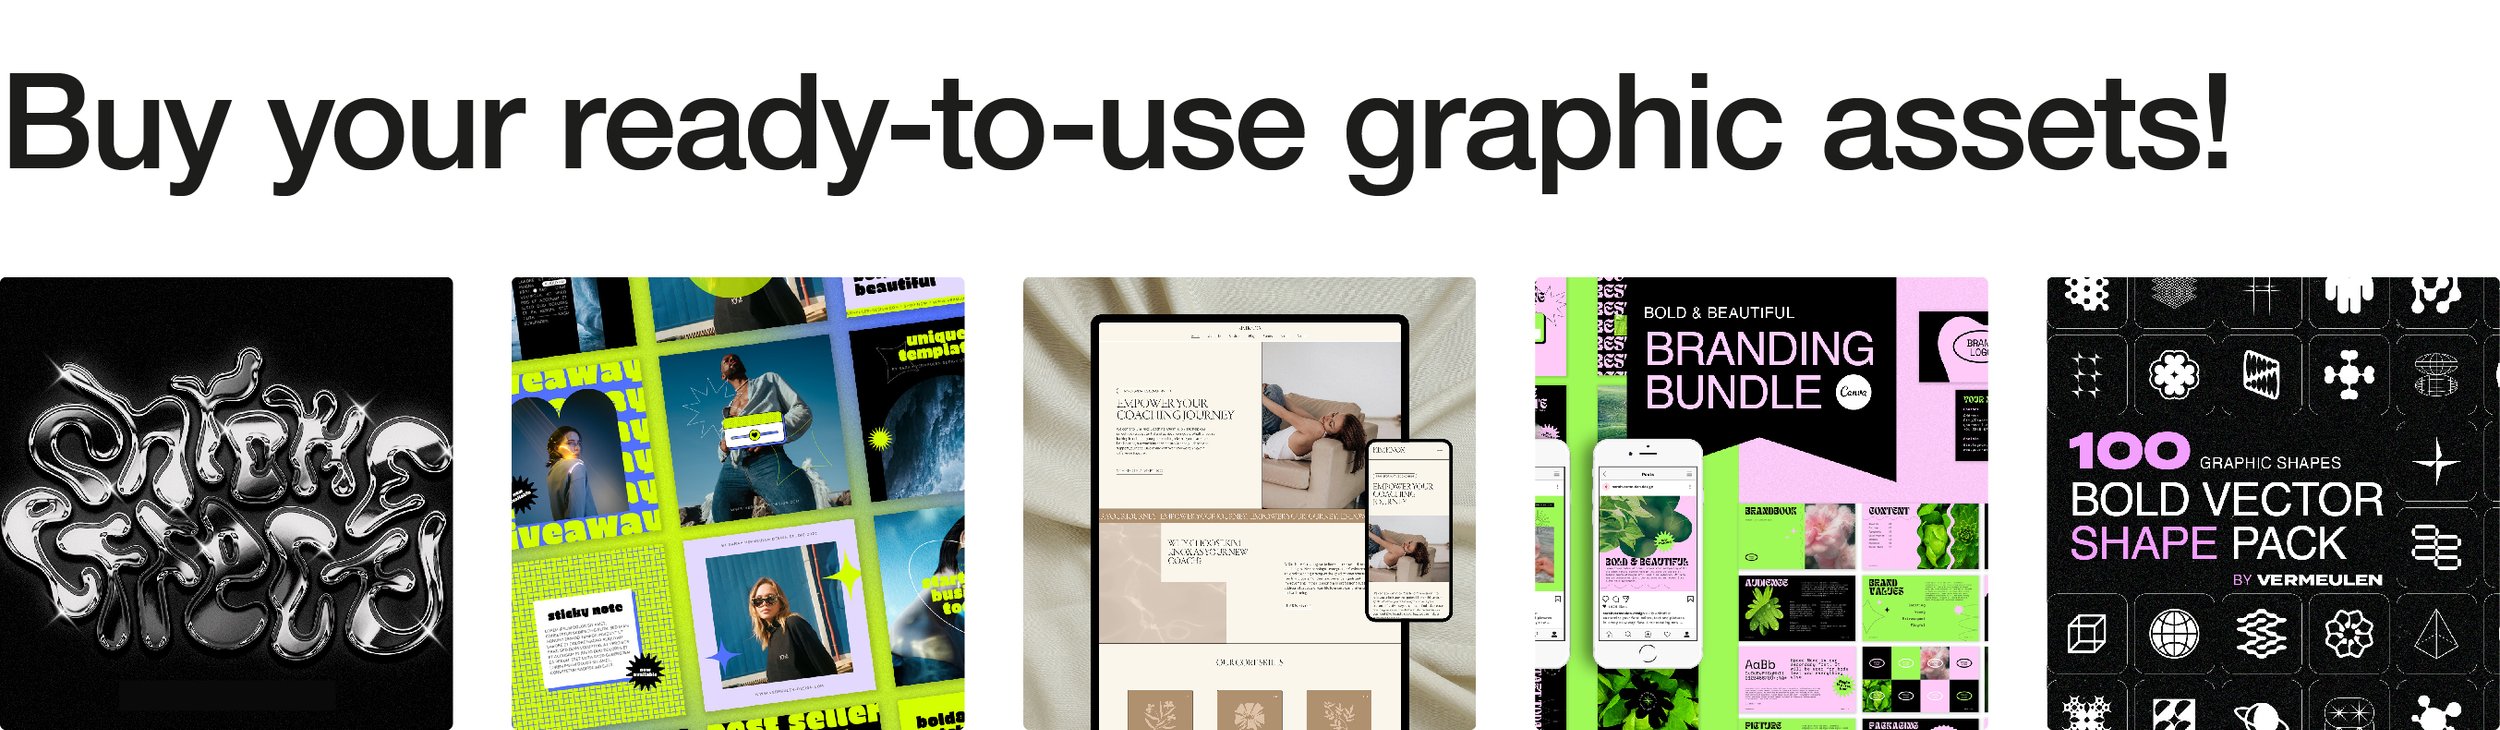
Creating realistic textures in Photoshop is all about experimentation and practice. By using layer blending, custom brushes, filters, and Smart Objects, you can achieve stunning results. And if all this sounds a bit too stressful or time-consuming, remember you can always hit me up for custom textures. Head over to my shop to find a range of Photoshop assets designed to save you time and elevate your work.